Understanding Rubber Floor Tiles
Rubber floor tiles have become increasingly popular in both residential and commercial spaces due to their durability, versatility, and ease of maintenance. These tiles are crafted from natural or synthetic rubber, offering a resilient surface that can withstand heavy foot traffic and resist stains. Not only are they practical, but they also come in a variety of colors and patterns, allowing for creative design solutions.
One of the primary benefits of rubber floor tiles is their shock-absorbing properties, which make them an excellent choice for gyms, playrooms, and other areas where comfort underfoot is desired. Additionally, rubber is a naturally slip-resistant material, enhancing safety in wet or high-traffic areas.
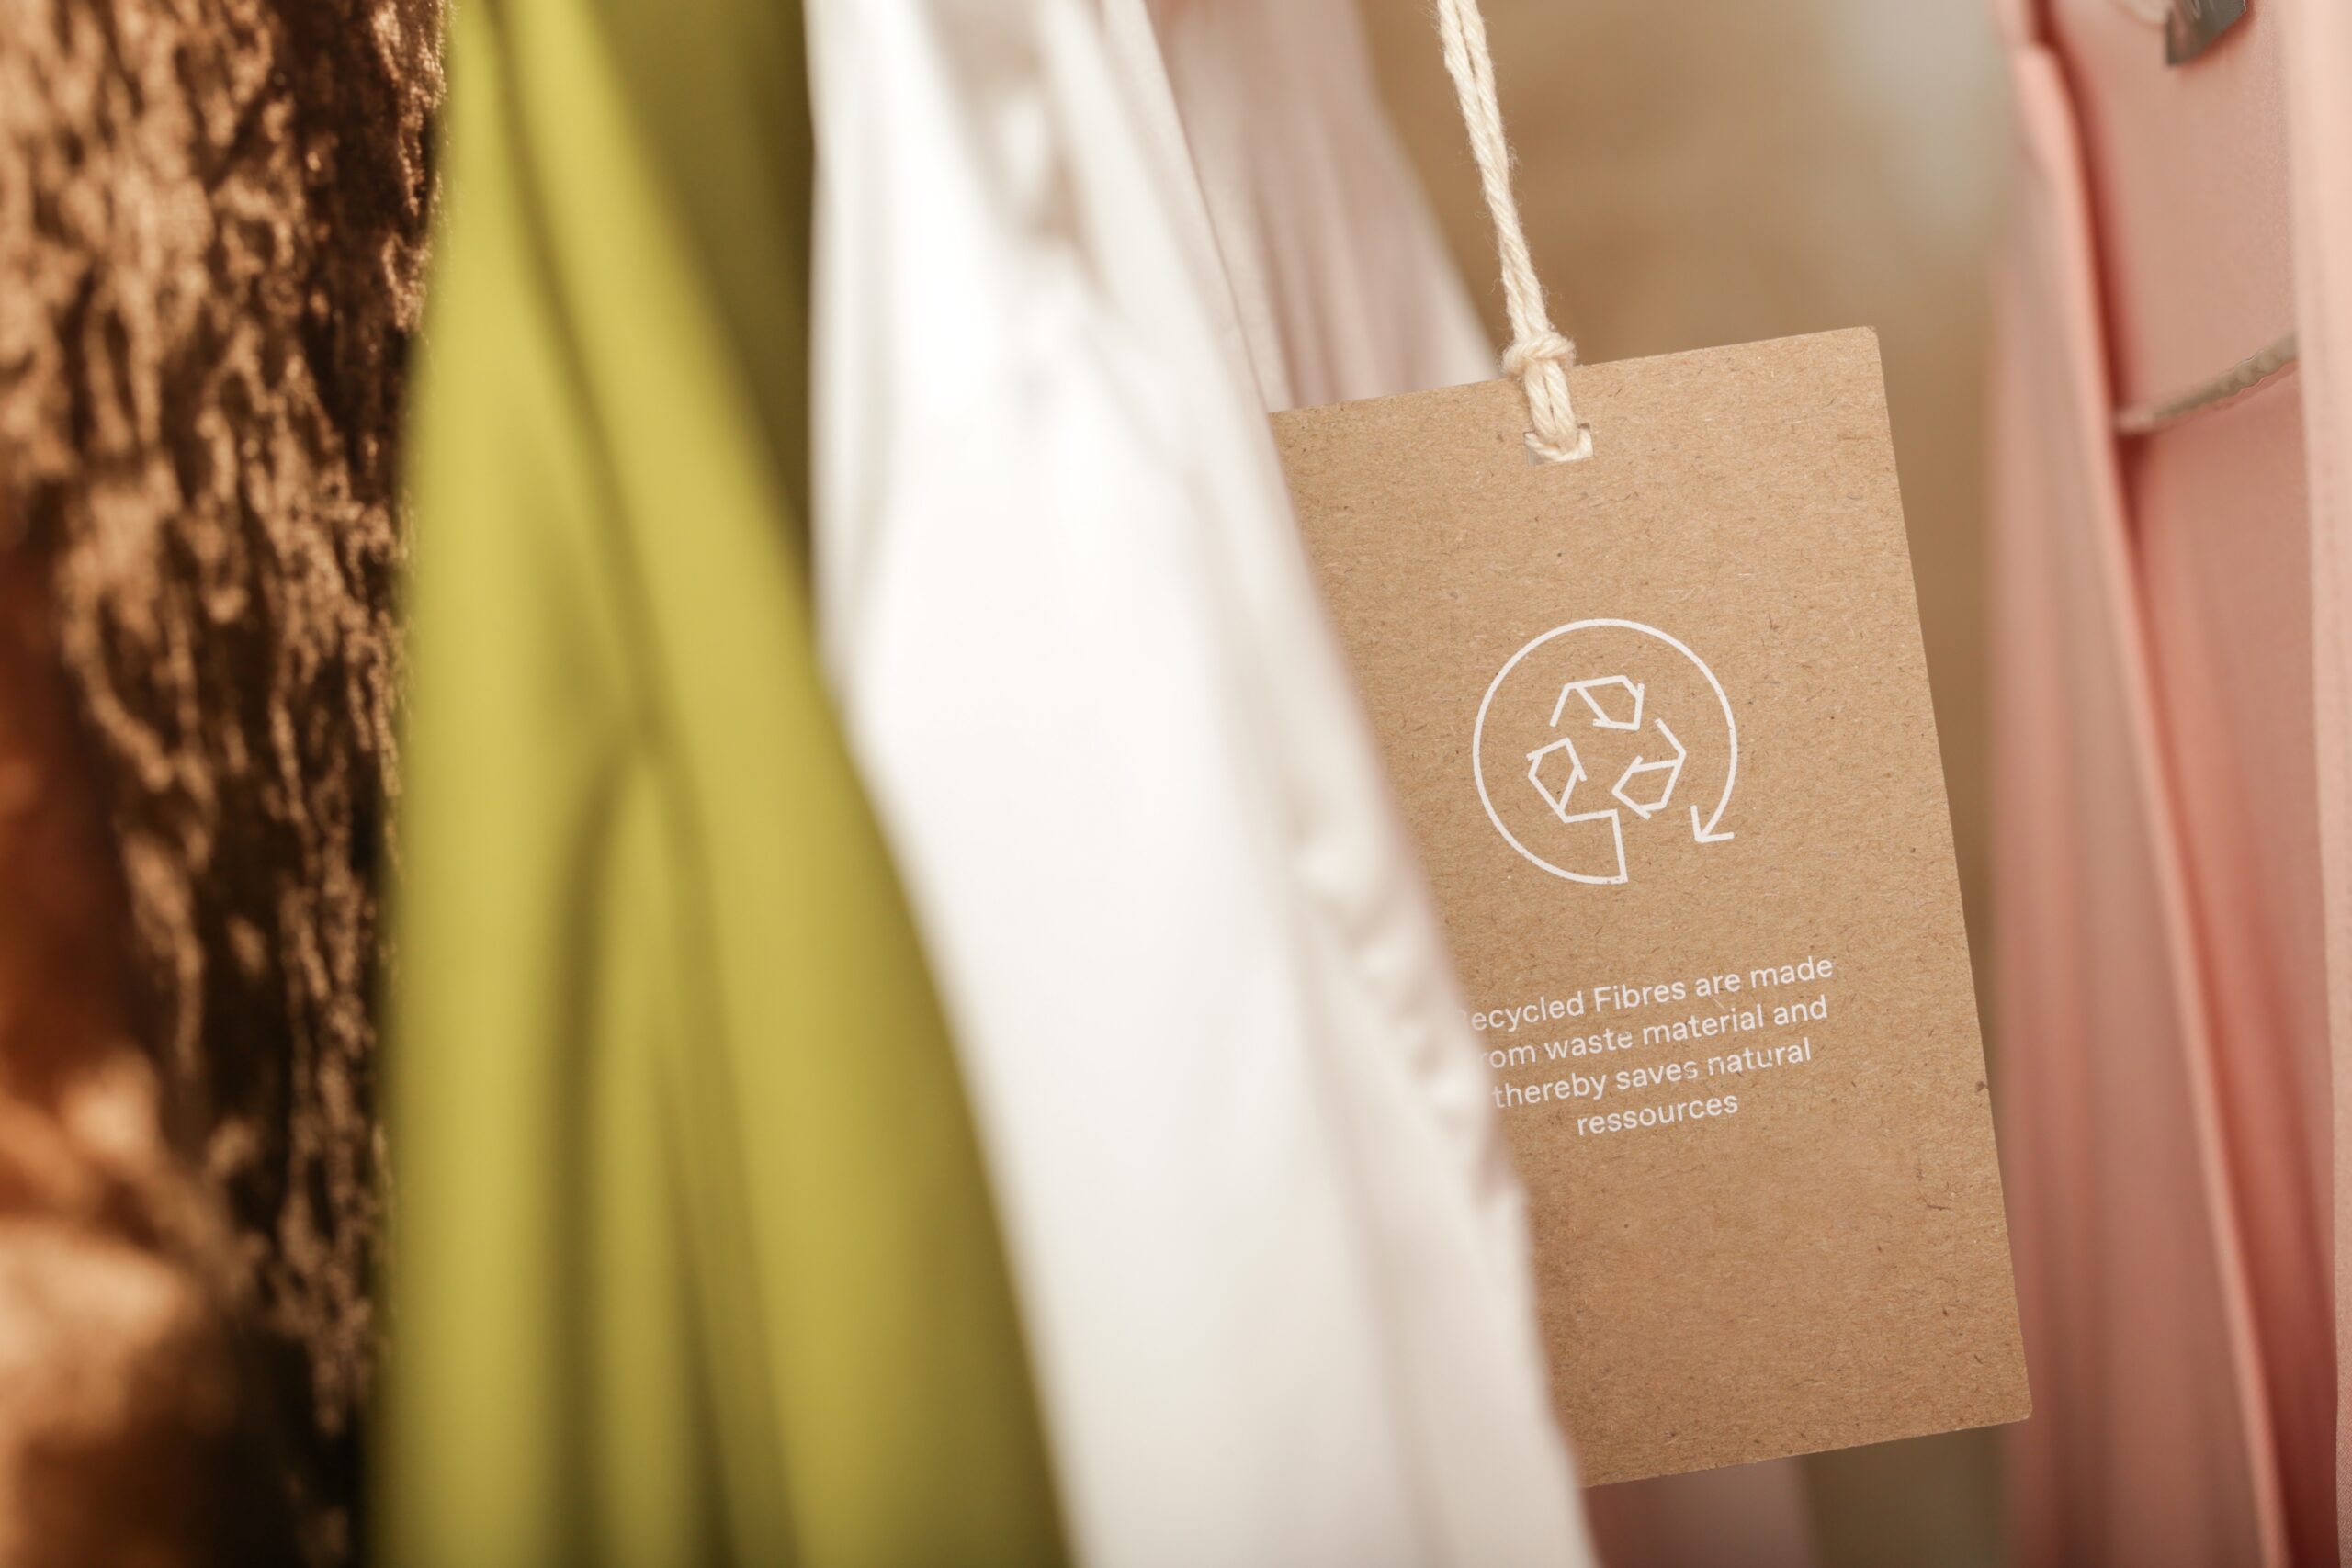
When selecting rubber floor tiles, it’s important to consider factors such as thickness, texture, and environmental impact. Thicker tiles generally provide better cushioning and sound insulation, while textured surfaces can offer additional grip. Furthermore, many manufacturers now offer eco-friendly options made from recycled materials, aligning with sustainable building practices.
Choosing the Right Rubber Floor Tiles for Your Space
Choosing the right rubber floor tiles involves assessing the specific needs of your space. For instance, in a home gym, you might prioritize durability and shock absorption, while in a kitchen, water resistance and ease of cleaning may be more important. Consider the following factors when making your selection:
- Purpose: Identify the primary function of the area where the tiles will be installed. This will guide your choice in terms of thickness and texture.
- Design: Rubber tiles are available in a wide range of colors and patterns. Consider how the tiles will complement your existing decor.
- Installation: Some rubber tiles are designed for easy DIY installation with interlocking edges, while others may require professional installation.
- Budget: Prices can vary significantly based on quality and brand. Determine your budget in advance to narrow down your options.
By carefully evaluating these aspects, you can select rubber floor tiles that not only meet your functional needs but also enhance the aesthetic appeal of your space.
Installing Rubber Floor Tiles: A Step-by-Step Guide
Once you’ve selected the perfect rubber floor tiles, the next step is installation. While some may opt for professional installation, many rubber tiles are designed for easy DIY projects. Here’s a step-by-step guide to help you through the process:
- Preparation: Clear the area of furniture and debris. Ensure the subfloor is clean, dry, and level. If necessary, use a leveling compound to address any uneven surfaces.
- Planning: Lay out the tiles in the desired pattern without adhesive to ensure a proper fit. This step allows you to make any necessary adjustments before final installation.
- Installation: Begin in one corner of the room, applying adhesive if required, and press each tile firmly into place. Use a rubber mallet to ensure a tight fit between interlocking tiles.
- Finishing Touches: Once all tiles are in place, use a utility knife to trim any excess material along the edges. Allow the adhesive to cure as per the manufacturer’s instructions before moving furniture back into the space.
By following these steps, you can achieve a professional-looking installation that enhances the functionality and style of your space.


